Creating curved concrete forms with plywood is a great way to add a unique touch to your next construction project. Whether you’re building a curved pathway or a decorative wall, understanding the basics of concrete forms is essential. In this article, we’ll walk you through the step-by-step process of creating curved concrete forms using plywood.
Understanding the Basics of Concrete Forms
Before we dive into the specifics of creating curved concrete forms, let’s first explore what concrete forms are and why they are important.
Plywood curved concrete forms add visual interest and architectural elegance to any project. They allow you to create unique, flowing shapes that are not possible with straight forms. Whether you want to create a curved wall, a rounded staircase, or a circular patio, curved forms give you the flexibility to bring your design ideas to life.
Concrete forms, also known as formworks, are essential components in the construction industry. These temporary structures play a crucial role in providing support and shape to the concrete until it cures and gains sufficient strength to stand on its own. By holding the concrete in place during the curing process, forms ensure that the final structure maintains the intended shape and dimensions. They are typically made from wood, metal, or plastic and come in various shapes and sizes to accommodate different project requirements.
What are Concrete Forms?
Concrete forms, also known as formworks, are temporary structures that provide support and shape to the concrete until it cures and gains sufficient strength to stand on its own. These forms are typically made from wood, metal, or plastic and come in various shapes and sizes.
Wood forms are commonly used for small to medium-sized projects and offer flexibility in creating custom shapes. Metal forms are preferred for larger projects due to their durability and ability to withstand the pressure of heavy concrete loads. Plastic forms, on the other hand, are lightweight and easy to handle, making them ideal for repetitive use in projects with multiple similar components.
Importance of Curved Concrete Forms
Architects and designers often utilize curved forms to add a sense of movement and fluidity to their structures. The smooth, organic lines created by curved forms can soften the overall look of a building and create a more inviting and dynamic space. Additionally, curved forms can enhance structural integrity by distributing loads more evenly, reducing stress points and potential weaknesses in the concrete. This not only improves the aesthetics of the project but also contributes to its long-term durability and performance.
Materials Needed for Curved Concrete Forms
Now that you understand the importance of curved concrete forms, let’s gather the materials you’ll need for this project.
Creating curved concrete forms requires attention to detail and the right materials to ensure a successful outcome. In addition to plywood, which is the primary material for constructing the forms, there are other components that play a crucial role in the process.
Overview of Plywood Types
When it comes to creating curved concrete forms, plywood is the material of choice. However, not all plywood is created equal. Look for exterior-grade plywood, which has better weather resistance and durability. Marine-grade plywood is even better for projects that will be exposed to moisture.
Exterior-grade plywood is typically made with water-resistant glue and is designed to withstand the elements, making it ideal for outdoor projects. Marine-grade plywood takes it a step further with even greater resistance to moisture, ensuring that your curved concrete forms remain strong and stable over time.
Essential Tools for the Job
In addition to plywood, you’ll need a few essential tools to complete this project. These include a circular saw or jigsaw for cutting the plywood, clamps for securing the forms in place, a hammer or nail gun for fastening, and a sander for smoothing the edges.
Having the right tools for the job is essential for achieving precise cuts and secure connections when working with plywood. A circular saw provides efficient and accurate cuts, while clamps help hold the forms in place during assembly. A hammer or nail gun is necessary for fastening the plywood together, and a sander ensures that the edges are smooth and free of any rough spots that could affect the concrete pour.
Preparing the Plywood for Curving
Now that you have your materials ready, it’s time to prepare the plywood for curving. This process requires precision and patience to ensure a successful outcome.
Before diving into the curving process, it’s essential to understand the characteristics of the plywood you are working with. Different types of plywood have varying levels of flexibility and strength, which can impact how easily they can be curved. Consider the grain direction and number of plies in the plywood to determine the best approach for curving. Find more about flexibility at https://www.health.harvard.edu/staying-healthy/the-importance-of-stretching
Cutting the Plywood
Begins by measuring and marking the dimensions of your desired curved form on the plywood. Use a straight edge and a pencil to ensure accurate measurements. Once marked, cut along the lines using a circular saw or jigsaw. Take your time to make clean and precise cuts. Remember, the quality of your cuts will directly impact the final result of the curved plywood, so attention to detail is key.
Techniques for Bending Plywood
Once the plywood is cut, it’s time to bend it into the desired curve. There are several techniques you can use to achieve this. One popular method is to soak the plywood in water for a few hours, which makes it more pliable. This process, known as water bending, allows the wood fibers to become more flexible, making it easier to bend without cracking. You can also use steam or heat to soften the plywood and make it easier to bend. Clamp the plywood between two solid supports and gradually apply pressure until it takes on the desired shape.
Experiment with different bending techniques to find the one that works best for your specific project. Each method has its own advantages and challenges, so don’t be afraid to test out multiple approaches to achieve the perfect curve in your plywood. Remember, practice makes perfect, so don’t get discouraged if your first attempts don’t turn out exactly as planned. With patience and persistence, you’ll master the art of curving plywood for your woodworking projects.
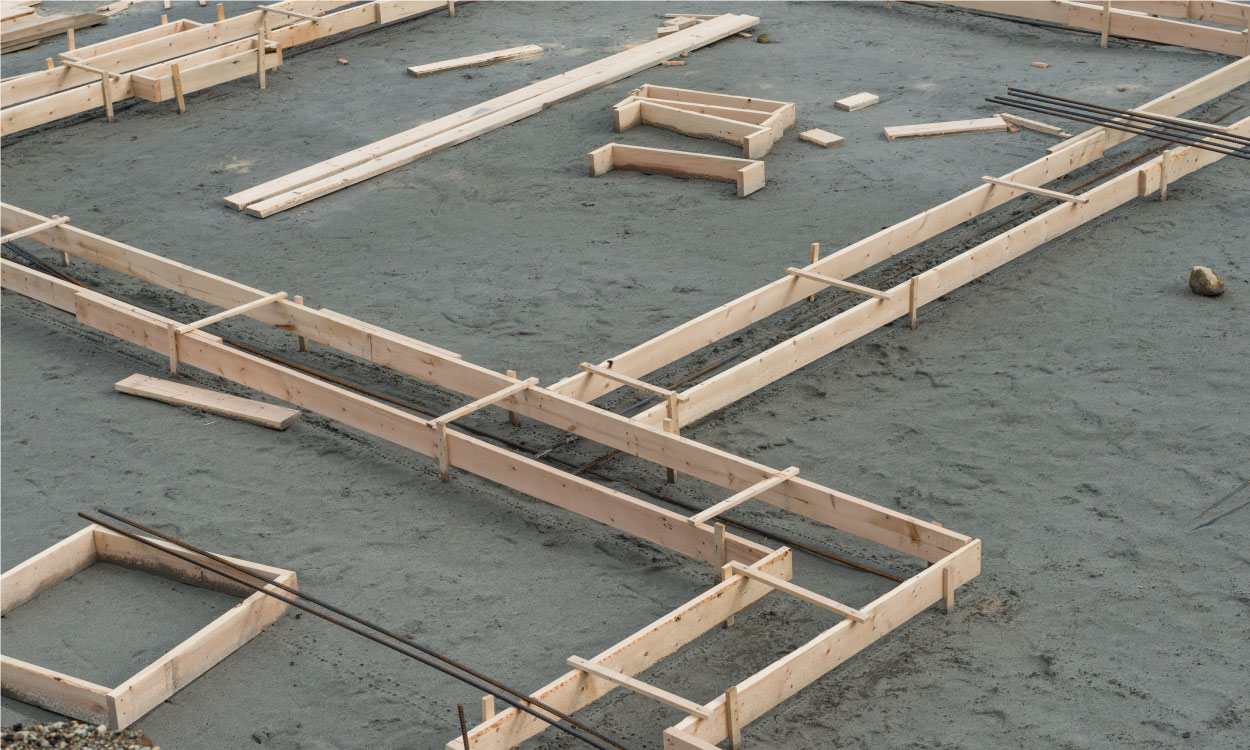
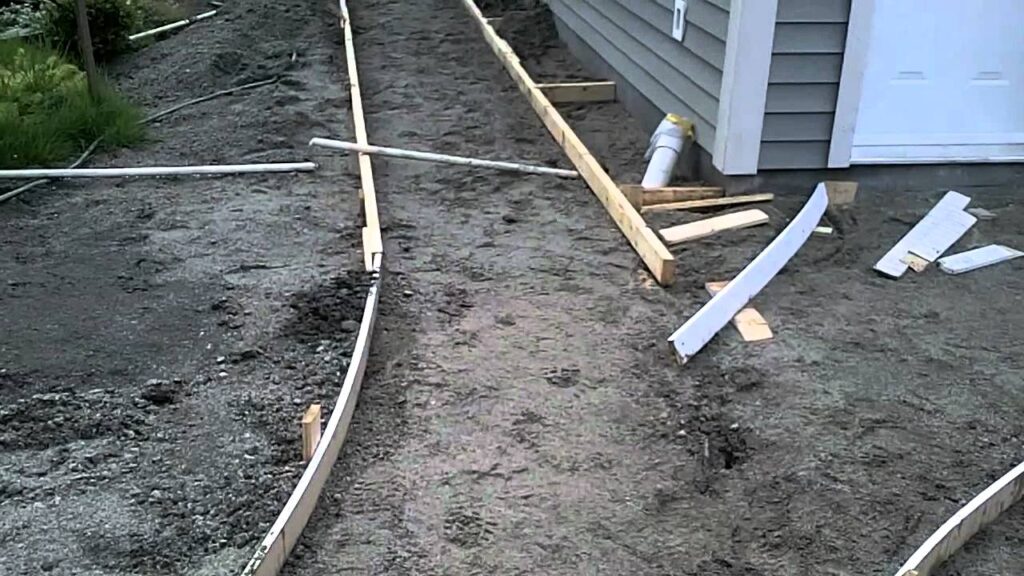
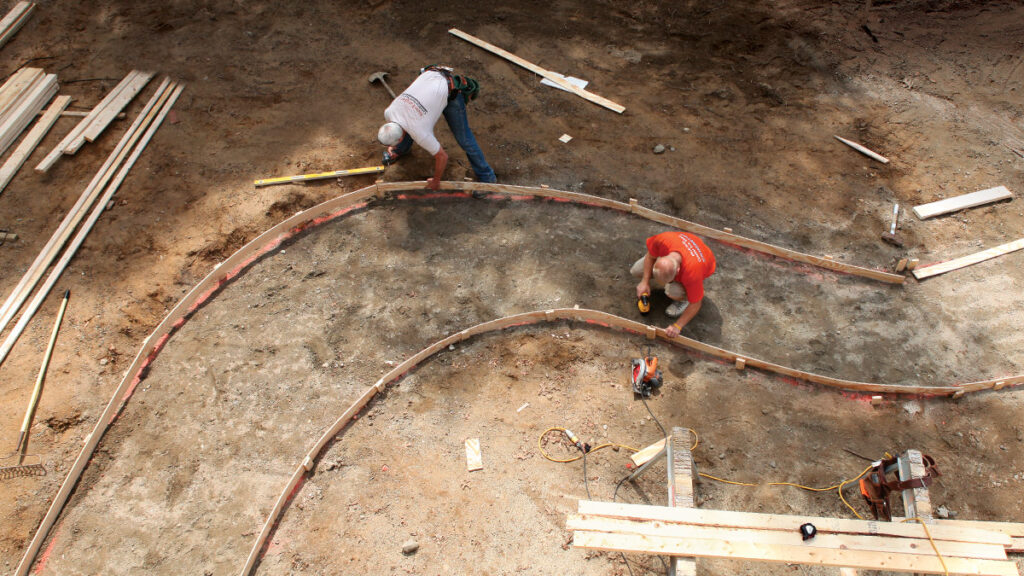
Assembling the Curved Concrete Form
With the plywood now curved, it’s time to assemble the curved concrete form. This step is crucial in creating a sturdy and visually appealing structure that will serve as the foundation for your concrete project.
When assembling the curved concrete form, attention to detail is key. Each component must be carefully positioned and secured to ensure the form can withstand the pressure of the concrete pour and maintain the desired shape.
Securing the Plywood
Using clamps, secure the curved plywood to the desired angle, ensuring it is firmly in place. Double-check that the form is straight and level using a spirit level. This step is essential to prevent any potential misalignments that could compromise the integrity of the form.
Once the plywood is in position, secure it by nailing or screwing it to the supports. This will provide additional stability and ensure a tight fit that can withstand the weight of the concrete. Taking the time to secure the plywood properly will result in a form that is strong and reliable.
Ensuring the Correct Curve Shape
Before moving on to the next steps, take a moment to confirm that the curved form matches your desired shape. Make any necessary adjustments to ensure the curve is smooth and even throughout the form. Attention to detail at this stage will contribute to the overall quality of the finished concrete structure.
Inspect the form from all angles to ensure that the curve is consistent and free of any imperfections. A well-crafted form will not only make the concrete pouring process smoother but will also result in a final product that meets your expectations in terms of both aesthetics and functionality.
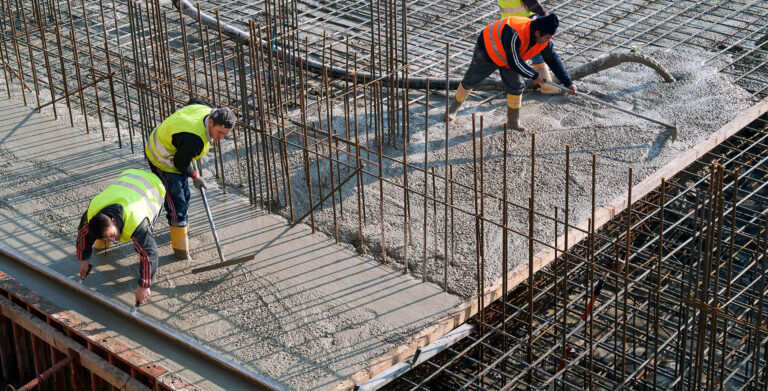
Pouring and Setting the Concrete
Now that the curved form is assembled, it’s time to pour and set the concrete. This critical step in the process will determine the final look and durability of your project. Let’s delve deeper into the intricacies of pouring and setting concrete to ensure a successful outcome. To read more about durability click here.
Preparing for the Pour
Before pouring the concrete, meticulous preparation is key to a flawless finish. Start by thoroughly cleaning the area where the concrete will be poured. Any dirt, debris, or oil can compromise the adhesion of the concrete, leading to imperfections. Applying a release agent to the formwork is essential to prevent the concrete from sticking and facilitate easy removal once it has set. Additionally, ensure that the base is level to prevent uneven pouring and settling of the concrete. For added strength and reinforcement, consider placing reinforcing bars or mesh within the formwork, especially for larger or load-bearing projects.
Curing the Concrete
Once the concrete is poured, the curing process is crucial for its strength and longevity. Proper curing involves maintaining the right level of moisture within the concrete to allow it to reach its full potential. To achieve this, keep the concrete form moist for a few days by covering it with plastic or utilizing a curing compound. This moisture-retention method promotes hydration and prevents cracking, ensuring a strong and durable finish that will stand the test of time.
Creating curved concrete forms with plywood is a gratifying endeavor that combines craftsmanship with creativity. The ability to mold and shape concrete into unique curves opens up a world of design possibilities, allowing you to transform ordinary spaces into extraordinary works of art. By following these meticulous steps and paying attention to every detail, you can elevate your construction projects to new heights. So, arm yourself with plywood, gather your tools, and embark on the journey of bringing your design visions to life through the art of curved concrete forms.
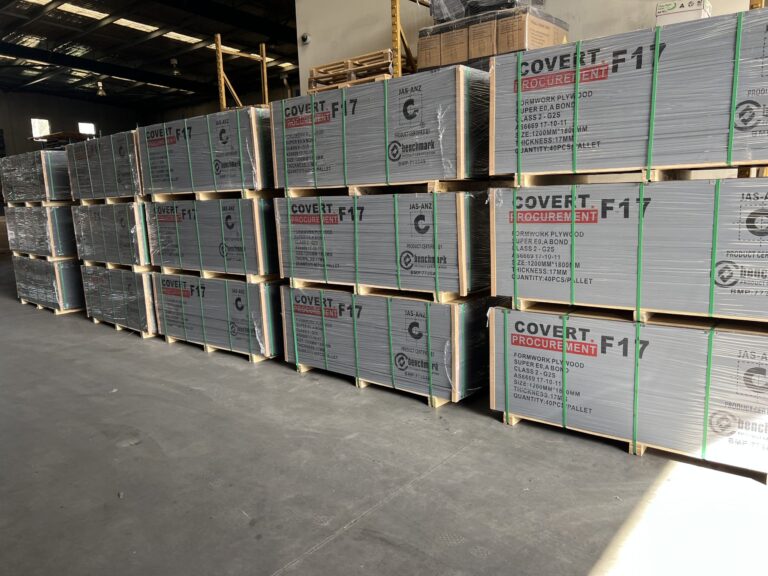
Read about f17 plywood at: F17 Plywood